


BRUT MANUAL
CURRENT PLUGIN VERSION: 1.0.0
updateS VIA the installer
MAIN INTERFACE
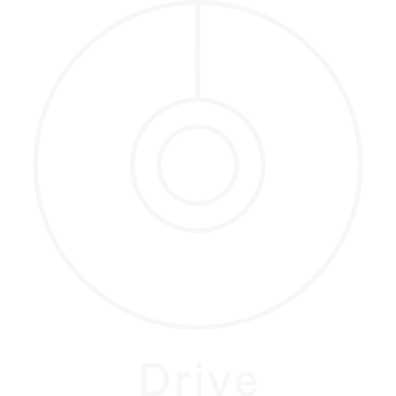
The Drive knob pushes the signal harder into the preamp section.
Use this for subtle warming, mix smashing, or anything in between. There are no rules. If it sounds good to you, it is most likely good.
The level change is compensated for based on test recordings — implementing an algorithmic auto-gain mechanism would kill the natural dynamics of the preamps, tubes, and transformers, and I believe it’s a fair compromise to take.
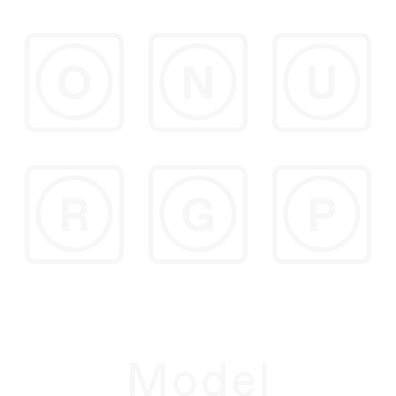
Clicking on buttons at the middle of the interface allows you to choose a preamp model.
All preamps sound different, drive differently, and respond differently. Think of this as a box of crayons - flick through different models to find one that suits your taste best for a particular track.
The preamps were arranged in a way that rewards exploration. The unit that loads by default (OP-6) is my personal go-to for most tracks. The U model is UBM, offering a complimentary color. The N model sounds much darker and grittier, in a cool way. If you can’t find what you’re looking for in the first row, there are plenty of other colors to pick from on the row below.
CAUTION!
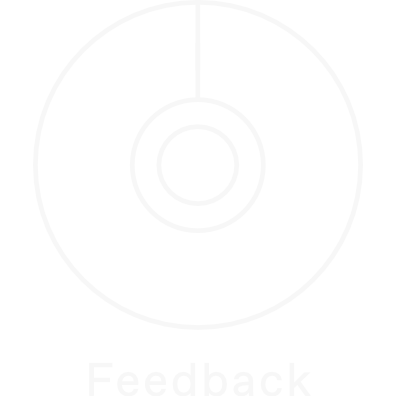
Feedback allows you to dirty things up further, create feedback loops and make filters very resonant.
Feedback works by taking the output, and feeding it back to the input. Low values can enchance the character of the preamps, and pushing it far will push things into a heavy overdrive.
Feedback depends on the track’s context, and the input level.
Combine it with filters for squelchy resonance, and bouncy transient response known as ‘pinging’ - this is where you get a ring after a heavy transient, and feedback is key to that effect.
It’s a knob you don’t want to whack all the way to the max value right away - approach with caution! Feedback can result in high volume levels!
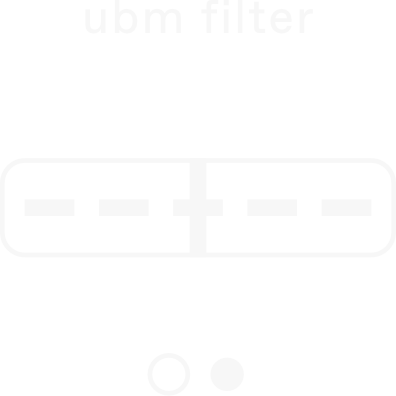
Filters do what you’d expect them do to - they filter.
To activate the filter, drag it right. If you’ll drag it all the way, it will be switched off again. So yes, the extreme ends of the slider work as on / off controls. Everything in-between is just pure analogue filter goodness.
There are two filters you can choose from by clicking the little dots underneath the filter slider. The first one is the UBM filter, which could be described as a strongly resonant high-pass with a unique shape. The 2nd filter is modeled after the Polivoks’ bandpass.
TIP: Activating the UBM filter will create a nice resonant peak at the lower frequencies. When combined with the UBM preamp (the U model), you’ll get a fuller bass response, than without the filter applied.
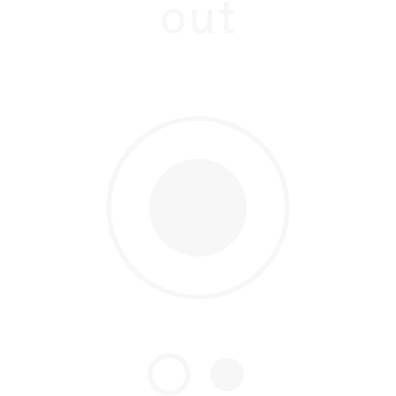
The out knob is just a clean output gain.
Use it to adjust the overall volume going out of the plugin.
Click the little dots underneath the out knob to swap it for a mix knob, allowing you to adjust the dry / wet balance of the processing.
TIP: Hold the SHIFT key to temporarily show the other knob without having to switch it permanently.

Click on the + button at the top right to access extra parameters.
Brut allows you to fine-tune the response of the plugin by tweaking some extra parameters. These are the equivalent of the ‘screwdriver’ or ‘advanced’ settings some plugins offer. Here, you’ll find options to dial in some noise and to tweak how the modules are routed internally.
Follow the guide below to learn what these controls do.
THE + PAGE
TO ACCESS THE PLUS PAGE, CLICK THE + BUTTON AT THE TOP RIGHT CORNER OF THE INTERFACE

Mix slider allows you to adjust the dry / wet balance between the processed and raw signal.
Use this where you need more subtlety, or just leave it wet — it sounds best this way. If you’re using Kolor as a saturator, adjusting this slider is a great way to keep the dirt under control.

Pre → Tilt switch changes the routing between the tilt section and the preamp.
By default, the tilt is inserted after the preamp. The idea is to allow you to subtly fine-tune the final tonal balance of the track. You can change this arrangement and use the tilt to push the top or bottom end of the spectrum more into the saturation.

Flip phase switch allows you to do what it says.
Some things just sound better with the polarity inverted. Don’t ask me why! I believe the most vocal engineer on the subject is Tchad Blake, so the phase switch is there if he’d like to use it. Of course, feel free to play with it, too.

Hiss and Hum controls allow you to inject authentic, hardware-sampled noise into your tracks.
The Hiss slider controls the overall volume of the noise. The Hum switch determines whether the noise should be just noise, or with some ground humming as well.
Switching Gate Hiss on will auto-mute the noise when no input signal is present.

The Feedback Gate will mute the raging feedback if no input signal is present.
On extreme settings, Feedback can ring even when the input signal is not present anymore. If you don’t want this to happen, enabling the Feedback Gate is a good idea.
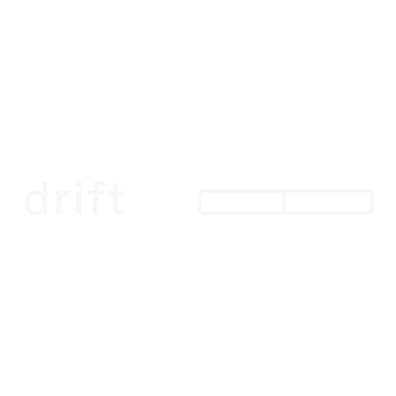
Drift determines how imperfectly the feedback behaves.
In real-world, feedback can embark on a chaotic dance, creating irregular vibrations and additional movement. Use this slider to determine how much of that is going to happen.

The Show Value button sets whether the big knobs should display their value when adjusted, or not.
This setting will apply to all instances of the plugin, next time you’ll open a session.
Need lower CPU use?
If you’re working at sample rates of 44.1 or 48KHz, you can disable the HQ mode to dramatically reduce the CPU consumption of Brut.
The non-HQ mode uses less-accurate models and no oversampling, but you might not hear the difference on most tracks. Use your ears to judge where to keep HQ on, and where to have it off.
SOME OTHER THINGS

Click on the BRUT text at the top left to save and load custom presets.
Brut comes with some starting points to get you — well — started. You can also save your favorite module combinations and settings you frequently use for easy recall.

Drag the bottom right corner of the interface to resize the plugin window.
The settings will be saved, and all new instances of Brut will load with the size you’ve set.
DAW-SPECIFIC

Rendering in Reaper
Due to how Reaper handles plugin initialization during bounce, depending on your CPU, you may need to enable “Delay render start” and add 1 second before the start of the render, or turn on "2nd pass render" in your bounce settings to preserve the first few milliseconds of your track if your audio starts right at the beginning of the timeline.